
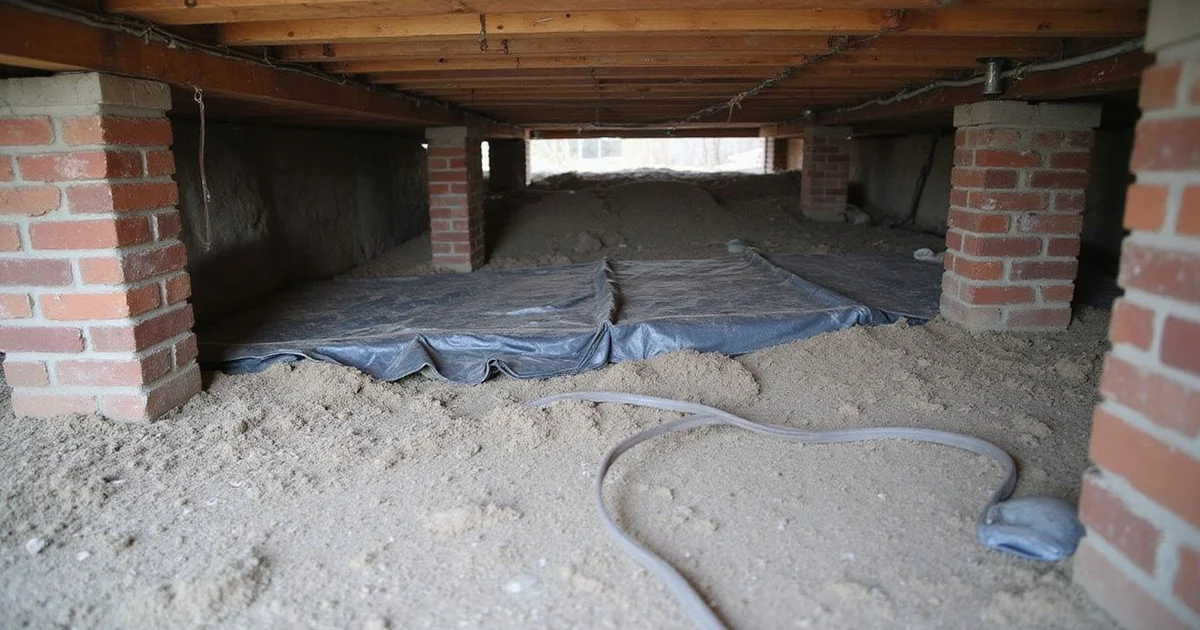
The honest version of a cheaper option
Not every crawl space needs a full encapsulation system, and pretending otherwise would be a sales position rather than an assessment. A ground vapor barrier is a legitimate, much cheaper intervention that genuinely helps in some situations.
Here is what each one does, and where the line sits.
Ground vapor barrier
What it is: sheeting laid over the crawl space soil, typically overlapped at seams, sometimes taped, usually not run up the walls. Vents stay open.
What it does: reduces ground vapor entering the space. Bare earth releases moisture continuously, and covering it removes a large source.
What it costs: a fraction of a full system.
What it leaves unaddressed: humid outside air entering through open vents, which in a Middle Tennessee summer is frequently the larger of the two sources. Wall surfaces. Seams and penetrations, if left unsealed. Active humidity control.
Full encapsulation
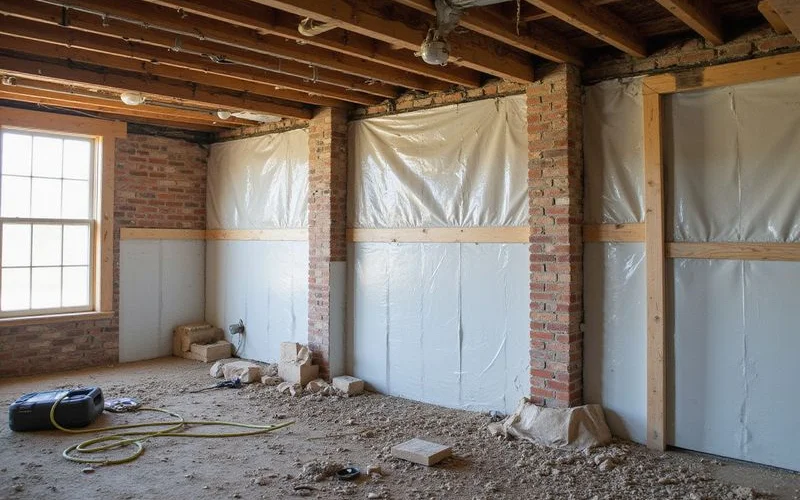
What it is: reinforced liner over the ground and up walls and piers, seams taped, vents and access sealed, penetrations detailed, drainage where needed, and dehumidification.
What it does: creates a closed, controlled volume where relative humidity can be held to a target.
What it costs: substantially more.
What it addresses that a barrier does not: the air side. Once the space is sealed, a dehumidifier has something it can actually control.
The climate argument
This comparison would go differently in Arizona.
In Middle Tennessee, summer dew points stay high for months. Warm humid air entering a cool crawl space through open vents condenses on the joists and ducts. Covering the ground removes one source while leaving the other running.
That is the core reason a barrier alone frequently underperforms here, and it is why our guide on encapsulation versus a dehumidifier alone reaches a similar conclusion from the other direction.
When a barrier alone is reasonable
A relatively dry crawl space with good exterior drainage. Humidity readings that are already moderate. No history of decay, fungal growth, or odour reaching the living space. Wood moisture readings in an acceptable range. A homeowner who wants a meaningful improvement at low cost and can monitor the result.
In those conditions, a good barrier with taped seams and some wall coverage is a defensible choice, and it can be upgraded later.
When full encapsulation is the right call
Persistent high humidity readings. Musty odour reaching the living space. Condensation on framing or ductwork. Elevated wood moisture content. Existing decay or fungal growth. Hardwood cupping upstairs. A crawl space that has already caused a structural repair.
At that point the space is producing consequences, and a partial measure tends to slow them rather than stop them.
The upgrade path
A barrier installed now does not preclude encapsulation later. What matters is that the barrier is decent quality and reasonably installed, since a properly laid reinforced liner with sealed seams is most of the material a later system would need.
If budget is the constraint and the conditions are moderate, starting with a barrier and a humidity gauge is a rational plan. The gauge tells you whether it was enough.
How to decide
Get a humidity reading in your crawl space — an inexpensive gauge left for a week through summer will tell you a great deal. Check wood moisture on accessible framing if you can. Look for condensation, fungal growth, and odour.
Moderate readings and sound wood support the cheaper option. High readings, or wood that has already suffered, point toward the full system. Our guide on what crawl space encapsulation includes sets out what that system consists of, and the crawl space encapsulation page explains how we assess and specify it.